TRANSFORM YOUR TEAM'S SEASON WITH PROFESSIONALLY PLANNED SESSIONS
Use our expert plans or build your own using our library of over 700+ drills, and easy-to-use tools.
JOIN NOWWhat are the best methods to teach Junior 8 aside hockey players their positional roles and responsibilities?


Hi Kelli,
One consideration is how much Football (Soccer) these youngsters have played. I'm guessing not that much. Therefore I'd follow the folowing progressions.
Stage 1
Divide the pitch into eight, using cones. The players then pass the ball from one area to another (they can move within the area - indeed, encourage it. Each player is restricted to his area. This is a good warm up and encourages players to pass with pace. The reason players crowd round the ball (the basis of good defending) is that players lack the ability to pass with pace. As soon as the ball speed goes up, the attacking players will start to spread out and the defenders will have to.
Stage 2
Make sure they make a given number of passes before they shoot. You decide on their ability. Encourage the ball to go forward, backwards and sideways.
Stage 3
If you have two teams out on the pitch have them play in different directions, this provides some traffic and a feel of match play. Obviously impress on players not to play through a player from the other team. In this drill attackers will be defenders and vice versa as the direction changes: this is great for young players both from a motivational and technical/tactical viewpoint.
Stage 4
Now divide the pitch into 12 zones. One team only on the pitch. Eight zones will be occupied, four will not. The rule is that the square ahead of the ball must be occupied, the one to each side (except on sideline) and the one behind. Decide how many passes you wish the players to complete prior to a shot. This should encourage off the ball movement but with a principle in mind.
Stage 5
Now allow two players finto one zone, providing support for the ball carrier. The remaining players stick to your rule of player ahead, player behind and one to each side.
Stage 6
Add the opposition. They are restricted to one defender per zone. Therefore there should always be a 2 v 1 in the box where the ball is. One hopes they should be able to keep the ball for three or so passes and they will soon make progress.
When opposition is introduced, one variation with weaker players is to make the player second to the ball move away 5 m and therefore give the player on the ball time and space to pass, building passing confidence.
Let me know how you progress. There is at least five sessions of work here. Be patient. In the meantime when you play for fun at the end of training stick to three or four a side or your players will revert to poor habits.
Good luck.
Hi Kelli,
What age range?
What are the rules?
I can help I think with this additional information.
Hi JAR Thanxs for reply age range for team 7-9 years old. No goalie allowed 20 min halves 1/2 turf playing area, pcs free hits long corners, hope this helps
Hi Kelli,
One consideration is how much Football (Soccer) these youngsters have played. I'm guessing not that much. Therefore I'd follow the folowing progressions.
Stage 1
Divide the pitch into eight, using cones. The players then pass the ball from one area to another (they can move within the area - indeed, encourage it. Each player is restricted to his area. This is a good warm up and encourages players to pass with pace. The reason players crowd round the ball (the basis of good defending) is that players lack the ability to pass with pace. As soon as the ball speed goes up, the attacking players will start to spread out and the defenders will have to.
Stage 2
Make sure they make a given number of passes before they shoot. You decide on their ability. Encourage the ball to go forward, backwards and sideways.
Stage 3
If you have two teams out on the pitch have them play in different directions, this provides some traffic and a feel of match play. Obviously impress on players not to play through a player from the other team. In this drill attackers will be defenders and vice versa as the direction changes: this is great for young players both from a motivational and technical/tactical viewpoint.
Stage 4
Now divide the pitch into 12 zones. One team only on the pitch. Eight zones will be occupied, four will not. The rule is that the square ahead of the ball must be occupied, the one to each side (except on sideline) and the one behind. Decide how many passes you wish the players to complete prior to a shot. This should encourage off the ball movement but with a principle in mind.
Stage 5
Now allow two players finto one zone, providing support for the ball carrier. The remaining players stick to your rule of player ahead, player behind and one to each side.
Stage 6
Add the opposition. They are restricted to one defender per zone. Therefore there should always be a 2 v 1 in the box where the ball is. One hopes they should be able to keep the ball for three or so passes and they will soon make progress.
When opposition is introduced, one variation with weaker players is to make the player second to the ball move away 5 m and therefore give the player on the ball time and space to pass, building passing confidence.
Let me know how you progress. There is at least five sessions of work here. Be patient. In the meantime when you play for fun at the end of training stick to three or four a side or your players will revert to poor habits.
Good luck.
Wow thank you JAR for this I will put it to the test.

in more ways than one

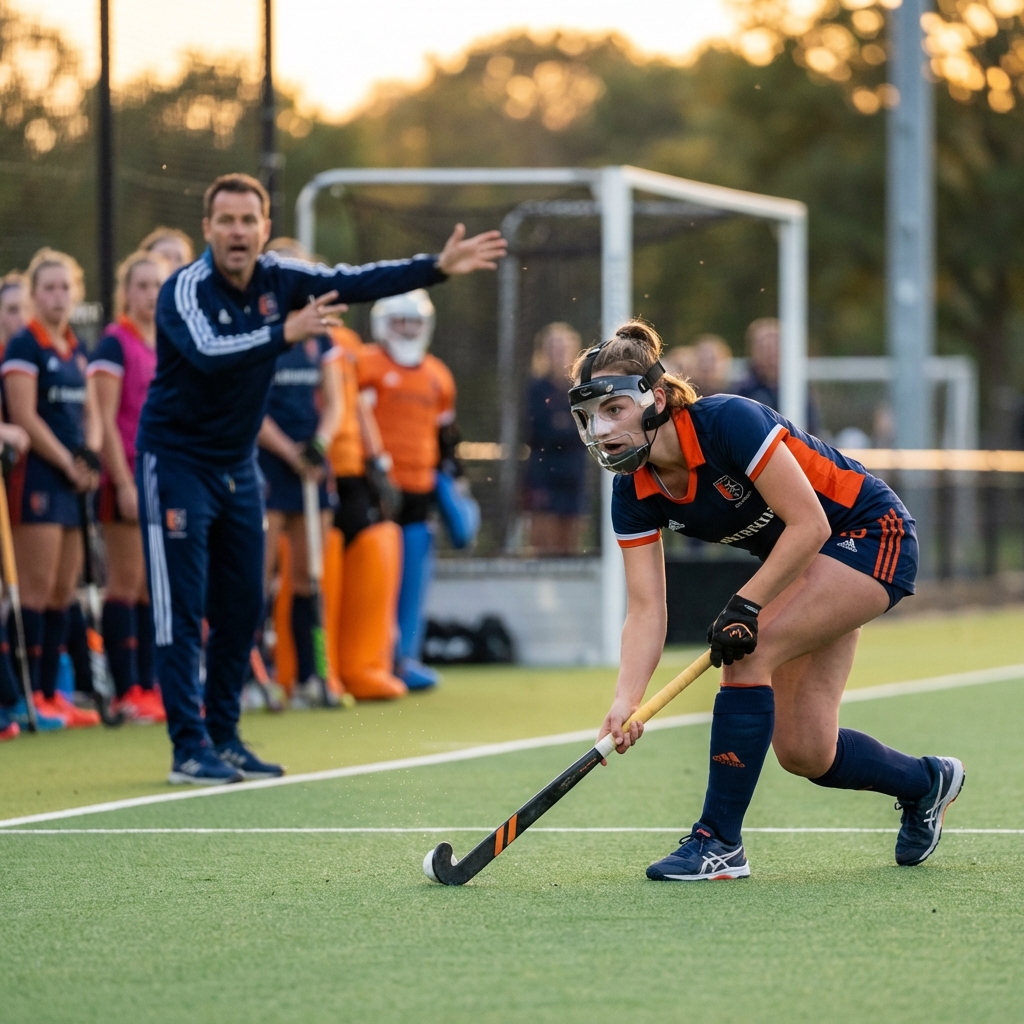
2026 is the first full year with mandatory face masks for penalty corner defence. Here's how to train your defenders for the new equipment reality.
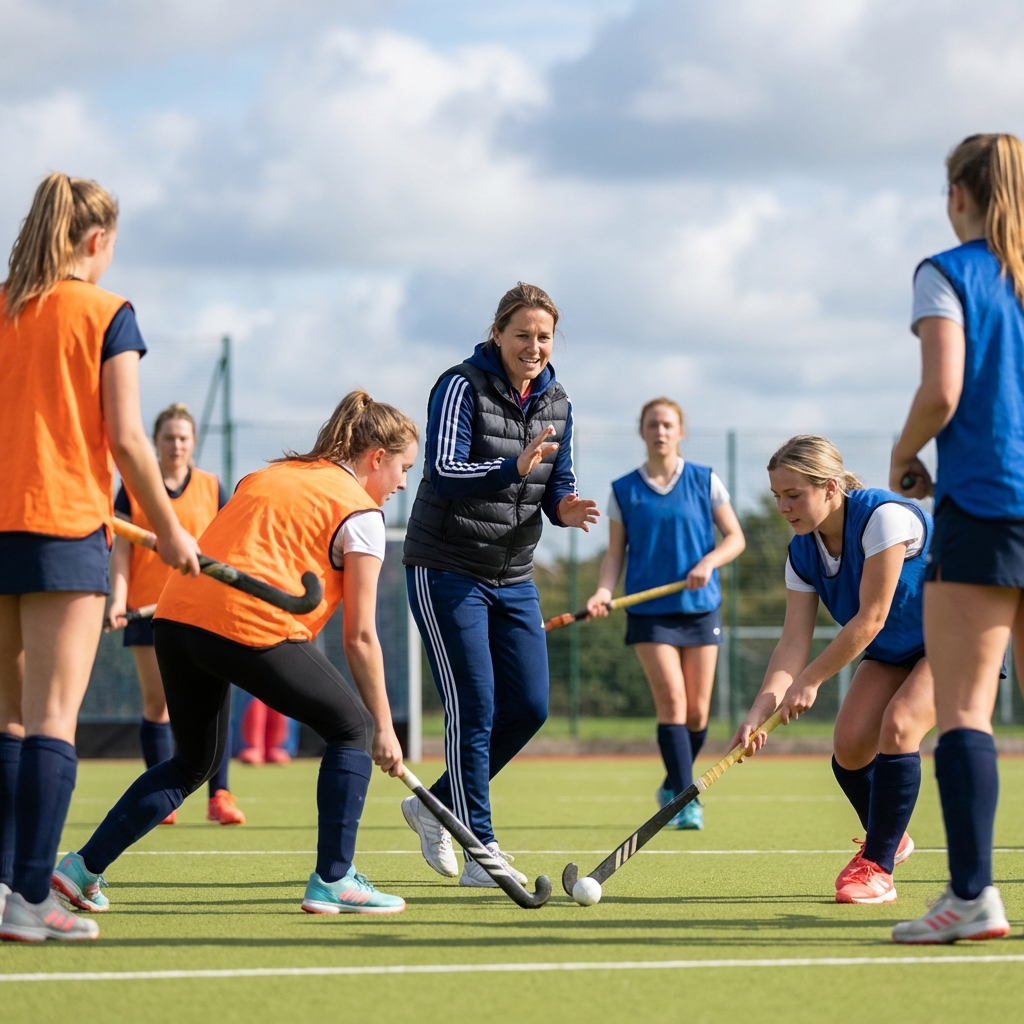
Move beyond drills and let your players discover solutions through play. The constraints-led approach is transforming how hockey is coached at every level.

From mandatory safety equipment to evolving tactical systems and player-centred coaching methods, field hockey is transforming. Here's what every coach needs to know for 2026.
Use our expert plans or build your own using our library of over 700+ drills, and easy-to-use tools.
JOIN NOW