If you watch the data, restart kicks happen more often than any other set-piece in a modern rugby match. A Six Nations game produces around twelve to sixteen restarts, more than the average lineout count and far more than scrums. Yet most teams - especially below elite level - still treat them as an afterthought. That is the gap top coaches are now closing.
The phrase "restart is the third set-piece" has become a coaching slogan in 2026 for good reason. The team that wins the restart battle controls field position, momentum and the opening sixty seconds of every passage of play. Conceding a try and then conceding the restart immediately afterwards is one of the most common ways to lose a match.
Why Restarts Are Suddenly Critical
Two things have changed. First, kickers have become more accurate. Restarts now land precisely on the 10-metre line and in the 15-metre channel, contested by tall, athletic chasers who jump for the ball. The days of a 22-metre dollop into the middle of the pitch are gone.
Second, the reward for retention has grown. With modern attacking shapes, a team that retains its own restart is straight into structured phase play in the opposition half. A team that loses the restart is defending in their own 22 with a disorganised line. The swing between those two outcomes is enormous.
Building a Reception Pod
Top teams now train a dedicated restart reception pod, exactly as they train a lineout pod. The pod typically has four roles, and every player must know which role they have before the kick is taken.
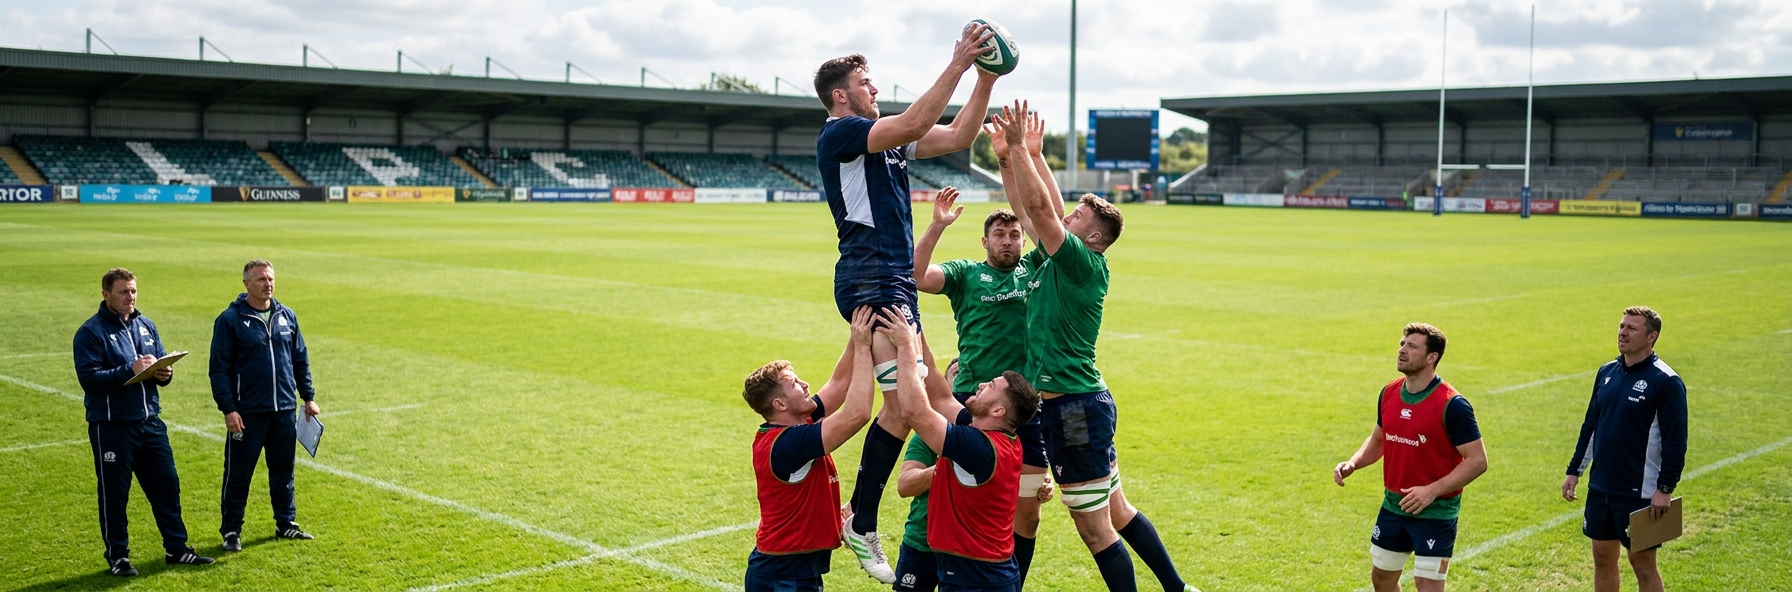
The catcher: Usually a lock or back-rower, chosen for height and timing. They call early - "mine" or the channel number - and commit to the catch.
The lifter: A prop or hooker who arrives at the catcher's side, hands ready, to give a lift on the contested ball. Lifting is legal at restarts and dramatically improves your win rate against good chasers.
The protector: A second forward who stands between the catcher and the chase, taking the contact if it comes and forming the first ruck cleanly.
The exit option: A back, usually the fly-half or full-back, in position to receive the next pass and either kick to touch or launch a counter.
How to Coach Restart Reception
Restart skills are perishable. Train them every week, even if only for ten minutes. Build the session in three blocks.
Block 1 - Catching under contest (5 minutes): One coach kicks high balls from the halfway line. Your designated catchers work in pairs - one catches, one acts as a chaser jumping to contest. Rotate every two reps. The focus is timing the jump, not winning every ball.
Block 2 - Receiving as a unit (10 minutes): Full pod of four sets up. Coach kicks restarts. Pod must catch, secure, ruck and recycle clean ball to a back. Add an opposition chase line of three after five reps.
Block 3 - Restart-to-exit scenarios (10 minutes): 12v12 or 10v10 game starting from a restart. After receiving, the team in possession has one rule: get out of their own half within three phases. This trains the link between reception and territorial exit.
Attacking Restarts - The Other Half
Receiving is half the picture. The other half is recovering your own restart. Modern restart kicks are aimed at one of three landing zones: short on the 10 (5-7 metres beyond the kick mark), mid-deep at the 15-metre line, or long into the far corner. Each option requires a different chase pattern.
The short restart is the highest-percentage recovery option but the hardest to execute accurately. Reserve it for moments when you genuinely need the ball back - after conceding a try, with time running out, or to disrupt a stronger opponent. Drill the kicker until they can land a restart in a one-metre window on demand.
Key Coaching Points
- Restarts are the most frequent set-piece - train them weekly
- Build a named reception pod with four clear roles: catcher, lifter, protector, exit
- Lifting is legal at restarts - use it
- The exit kick after a clean catch is as important as the catch itself
- Reserve the short restart for moments when winning it really matters


 sportplan_rugby