Continuing from Part 1: The first 2 balls the D is dictating to allow to land high and wide, but the 3rd pass you are trying to win! First set through, that ball should always be a lifted long ball either along the straightline that A is working OR the A can now use width to ask for a striaghline ball from the F's position. Repeat x 3. Swap sides. Second set through the A can make decision based on D positioning BUT must be a drive and no dilly-dally-dodging! - too far back, take the front cut if open - steps up too hard, use their body against them and roll into back space
Feet under body, but never lateral to the court Angle to see player and ball Head up (not tracking feet) - chin paralleel to floor Maintain touching distance from A Keep feet moving, light and short Limiting player to one side The front shoulder of the A should be the trigger for a switch from open to closed defence
This practice has no coaching points
This practice has no progressions
in more ways than one
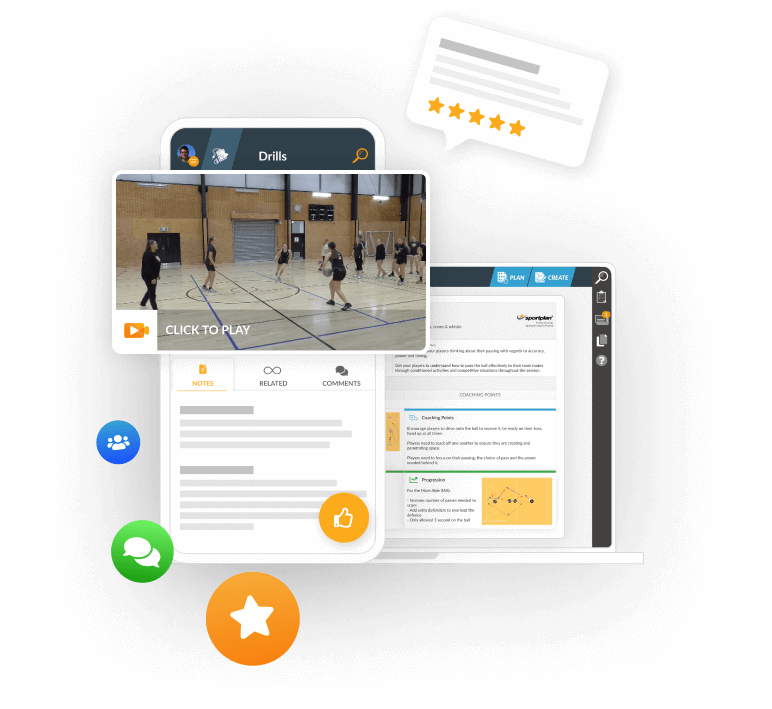
 sportplan_netball
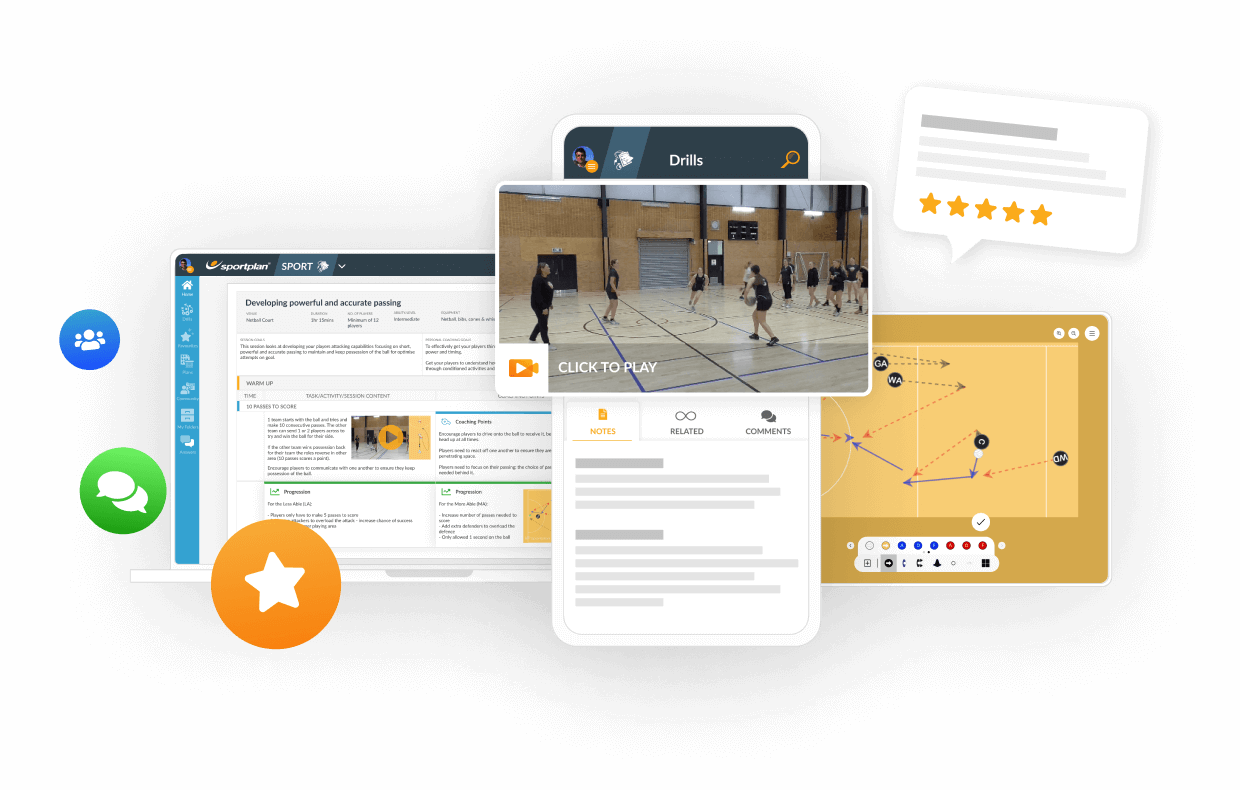


As the Lions tour approaches with their first tour game this Friday against Argentina, we look ahead at what the fans can expect to see from both sides as the tour in Australia approaches...

Introducing the Sportplan FootballBot. Your new coaching partner that has all the answers to the questions you may have...

Introducing the Sportplan RugbyBot. Your new coaching new coaching partner that has all the answers to the questions you may have...