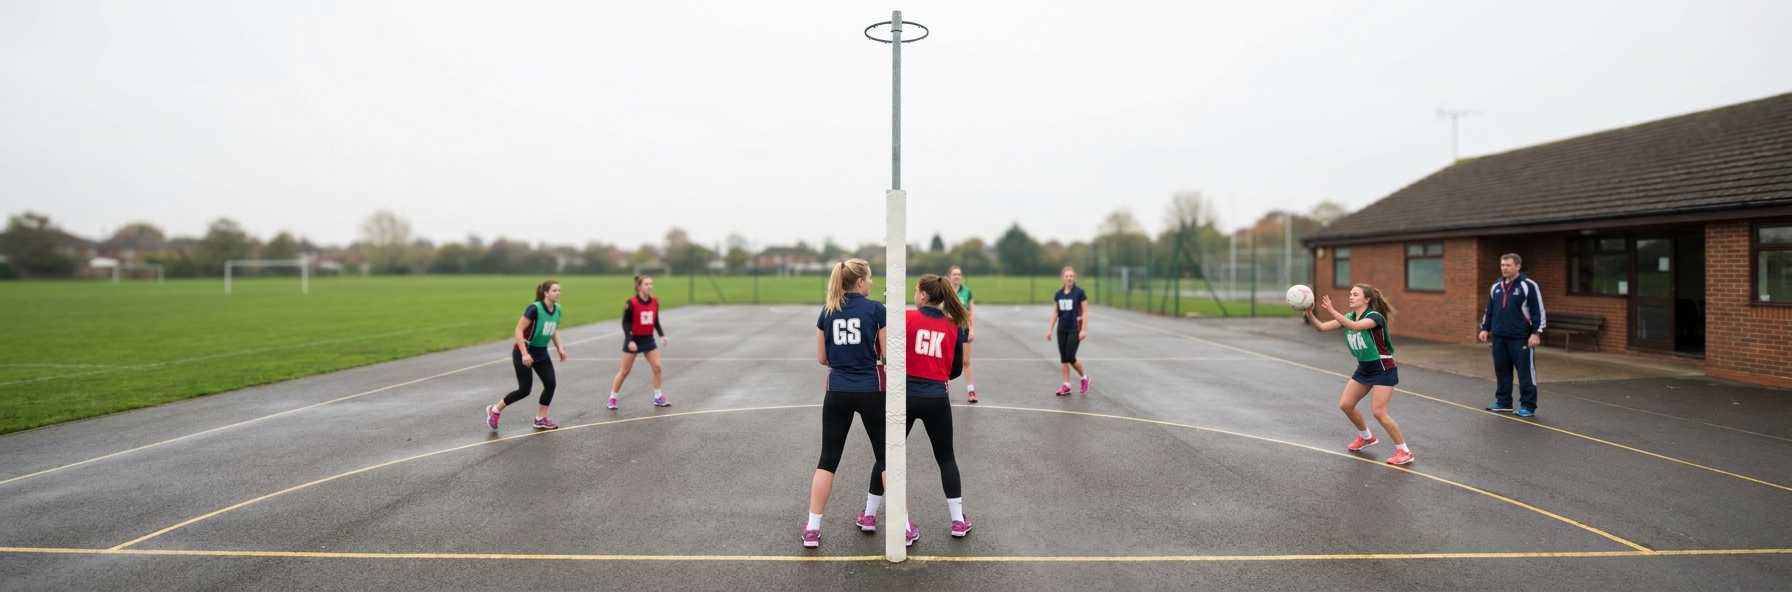
Watch a composed shooter at any level and you will notice how little they seem to run. They take a spot, keep it, and the ball arrives. That is not laziness. It is a skill called holding space, and it is one of the most under-coached parts of circle play in club and school netball.
Younger shooters tend to do the opposite. They sprint out, sprint back in and end up receiving on the circle edge with a keeper draped over them. Teaching them to hold, protect and then release into space gives your feeders a clear target and gives your shooters far easier shots.
What Holding Space Really Means
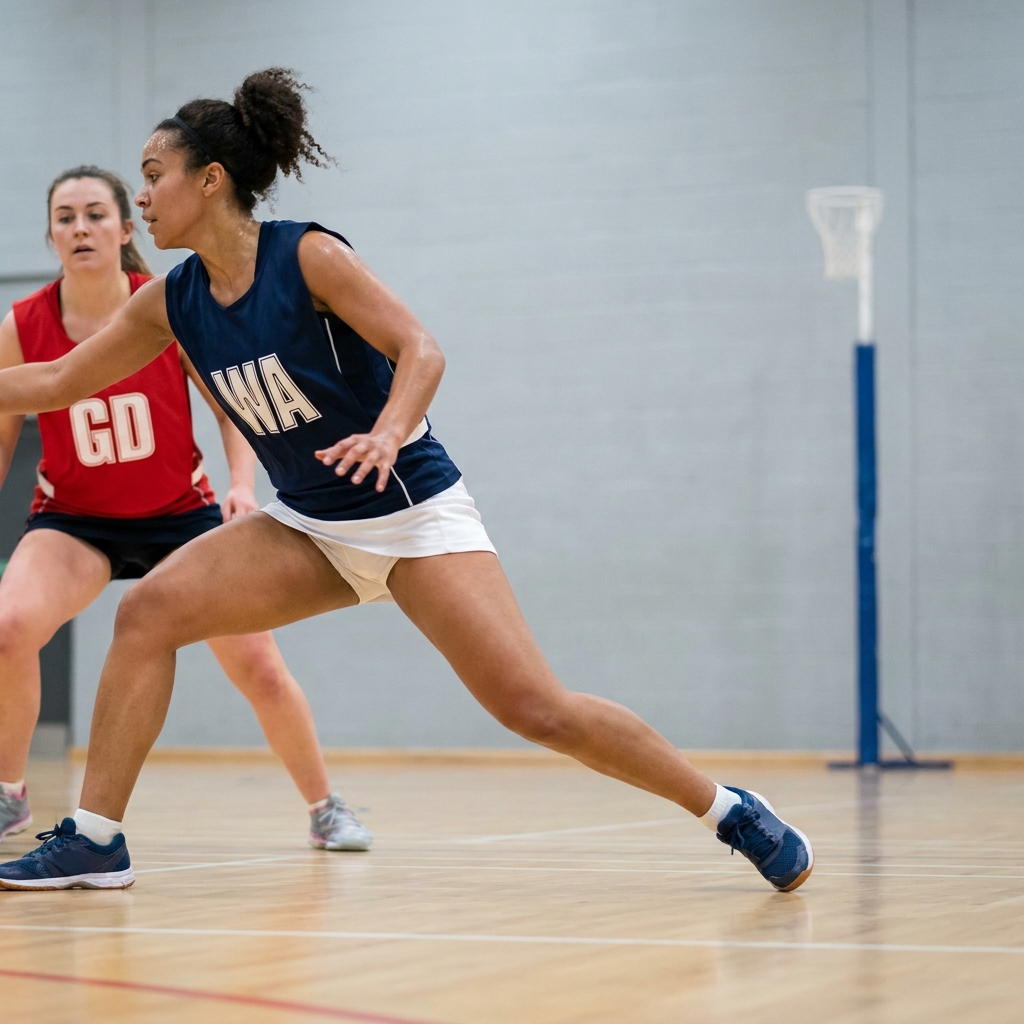
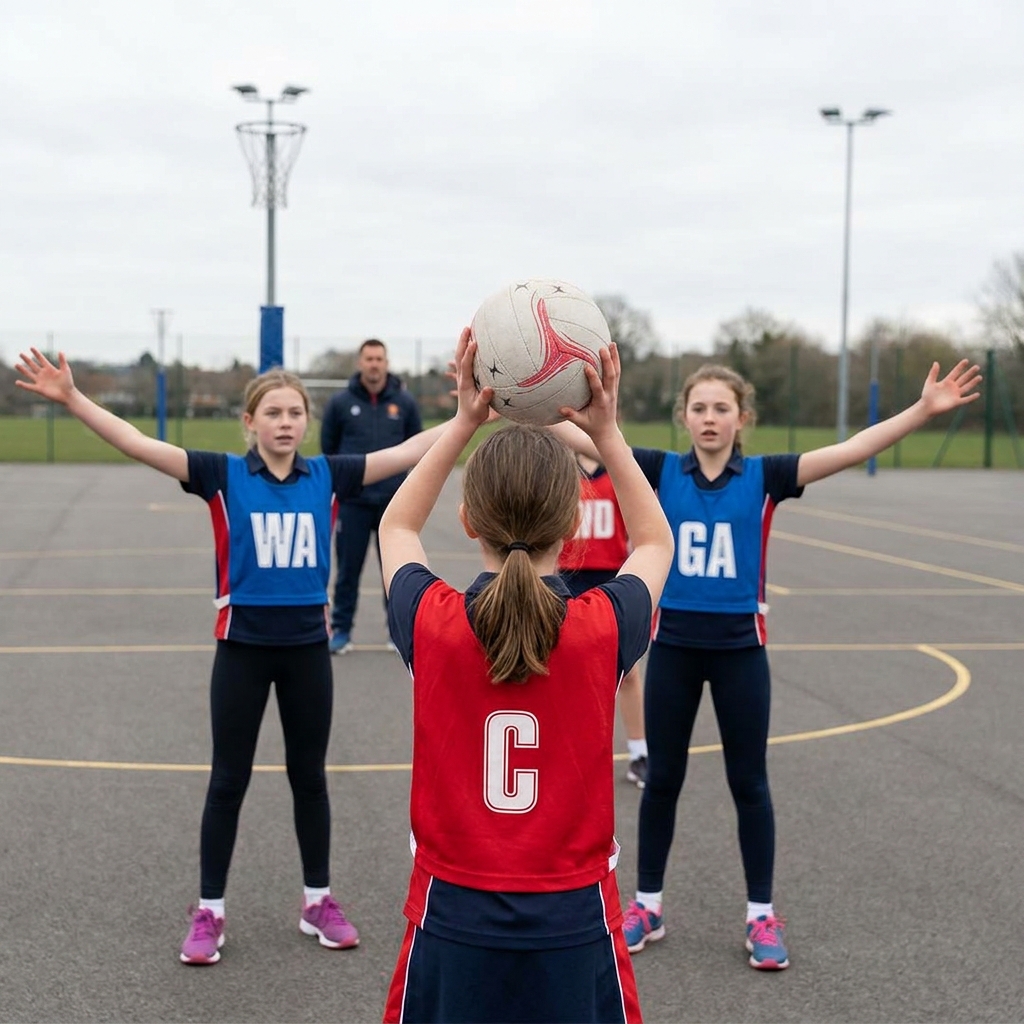
Holding space is using your body to claim an area of the circle, usually the space between your defender and the post, and keeping it until the pass is on. The shooter is not trying to get away from the defender. They are trying to keep the defender on the wrong side.
It works because netball is a game of angles. If your goal keeper is stuck behind you, they have to go over or around to reach the ball. A high, well-placed pass into the space in front of the shooter becomes almost impossible to defend.
Staying Legal: Contact and Obstruction
This is where many shooters get penalised, so be clear with your players. Holding space is about body position, not pushing. Under the rules, a player within 0.9 metres of an opponent may not use movements that take the arms away from the body to stop that opponent moving, beyond what a natural body stance needs. That applies to attackers just as much as defenders.
Leaning back into the keeper, sticking an elbow out or using hands to feel where the defender is will all be pulled up. The legal hold comes from a wide base, a low centre of gravity and arms kept close, used to signal for the ball rather than to fence off the defender. If you are unsure, ask a qualified umpire to watch a session and talk your shooters through what they would call.
A Four-Step Framework
Step One: Read the defender first. Before taking a position, the shooter needs to know where the keeper is standing. Front, side or behind decides which space is available. A quick glance on entering the circle saves a wasted lead.
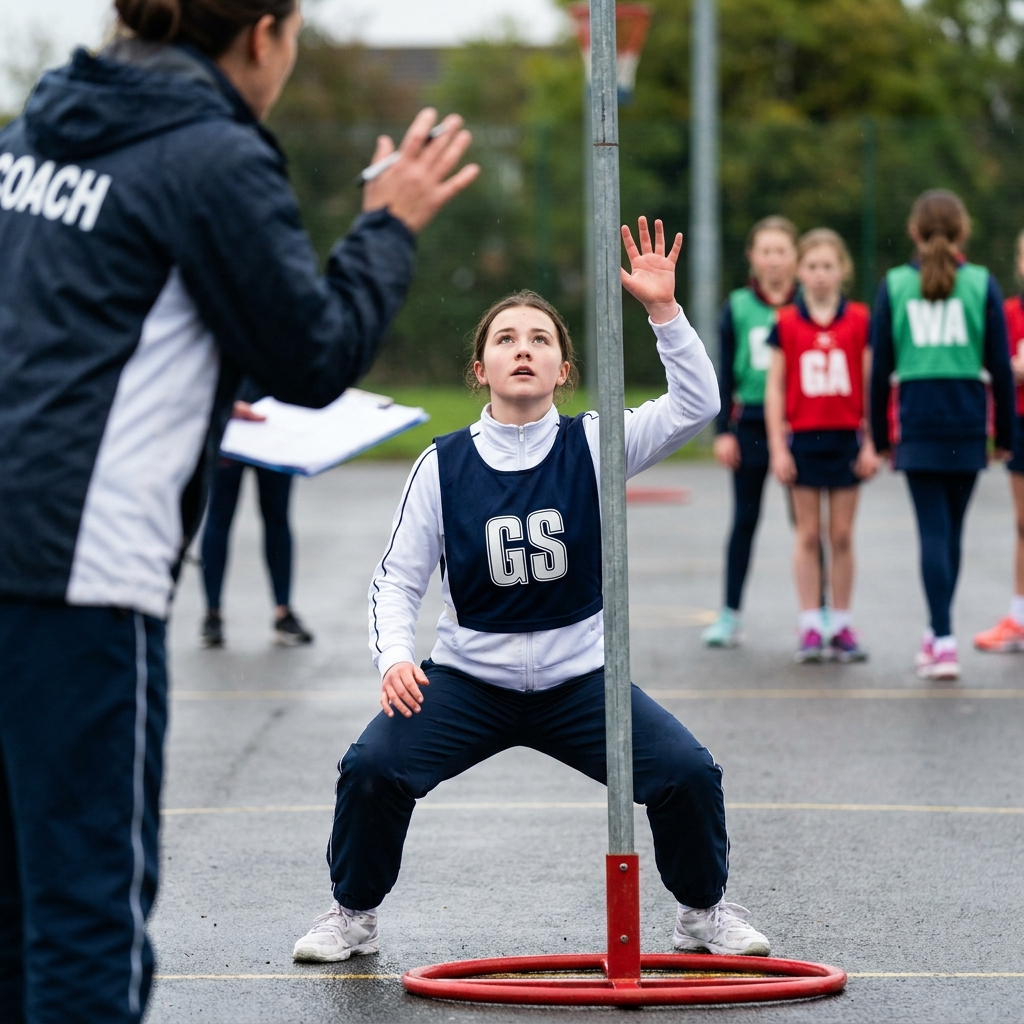
Step Two: Build a strong base. Feet a little wider than shoulder width, knees bent, weight balanced and slightly forward. A shooter standing tall with feet together will be moved off their spot by the first bit of pressure.
Step Three: Protect the space with body shape, not arms. Position the body between the defender and the space you want, keep arms close and use one hand to show the feeder where the ball should go. The target hand is a signal to your own team, not a barrier to the opposition.
Step Four: Release on the pass. The hold is only half of it. As the ball is released, the shooter steps or drives into the space they have protected and takes the ball with a strong two-handed catch. Go too early and the defender follows. Go too late and the ball is intercepted.
How Feeders Use a Held Shooter
A shooter holding space is asking for a specific pass. If they are holding in front of the keeper, a flat bullet pass into their hands is fine. If they are holding the keeper behind them near the post, the feeder needs a lob or high ball placed into the space ahead of the shooter, not to where the shooter is standing.
Agree simple signals between shooters and feeders. Where the target hand goes is where the ball goes. Encourage your wing attack and goal attack to hold the ball for a moment and look, rather than forcing a feed before the shooter has established the hold.
How to Train It
Start without defenders. Shooters take up a spot in the circle, adopt the base and practise catching high and low balls placed into space. Add a passive defender who simply leans a little and tries to step around, so shooters feel what a legal hold is like under pressure.
Then build to live work in small groups: a shooter and keeper in the circle with two feeders outside. The shooter must hold for a count before they can receive. Rotate roles often so your defenders learn how to beat a hold too, which is its own valuable lesson.
Key Coaching Points
- Read where the defender is before choosing which space to hold.
- Use a wide base, bent knees and balanced weight so pressure does not move you.
- Keep arms close to the body; use the target hand to signal, never to push or block.
- Time the release with the pass so the defender cannot recover.
- Feeders pass to the space the shooter is protecting, not to where they are standing.
- Agree simple signals so shooters and feeders read the same picture.
Recommended Drills
Frequently Asked Questions
My shooter keeps getting penalised for contact when holding. What are they doing wrong?
Usually it is the arms or leaning. Shooters who feel pressure often push back with an elbow or lean their weight into the keeper. Get them lower with a wider base so they can stay balanced without needing to push, and keep arms close to the body.
How long should a shooter hold before moving?
Only as long as the feeder needs. The hold is there to create a clear option when the ball arrives in the attacking third. If the feeder cannot see the pass, the shooter should reset with a fresh movement rather than standing still and inviting the keeper to get round.
Is holding space only for goal shooters?
No. Goal attacks use it too, and so do wing attacks and centres on the circle edge when they want to receive before feeding. It is a core getting free skill for any attacker, but it matters most in the circle where the space is tight.
 sportplan_netball