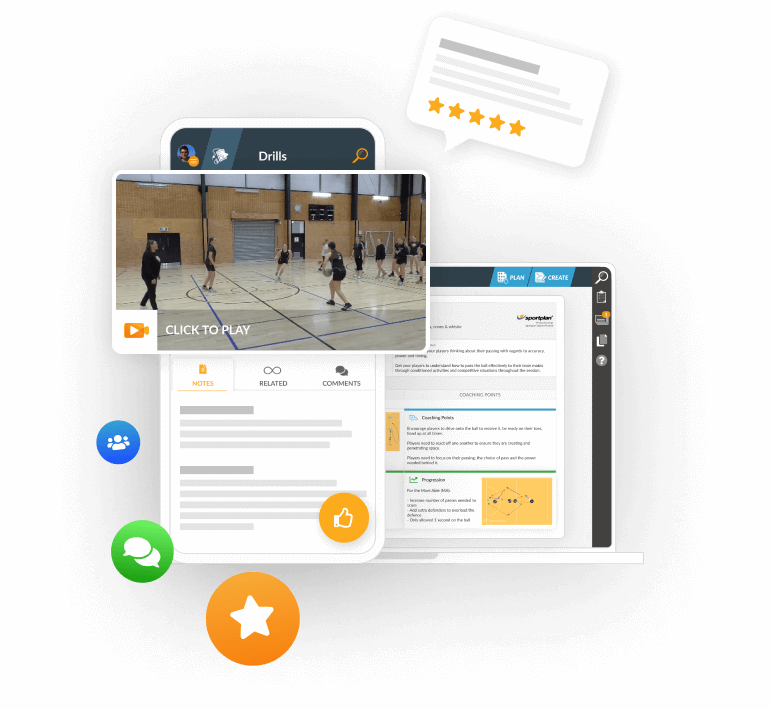
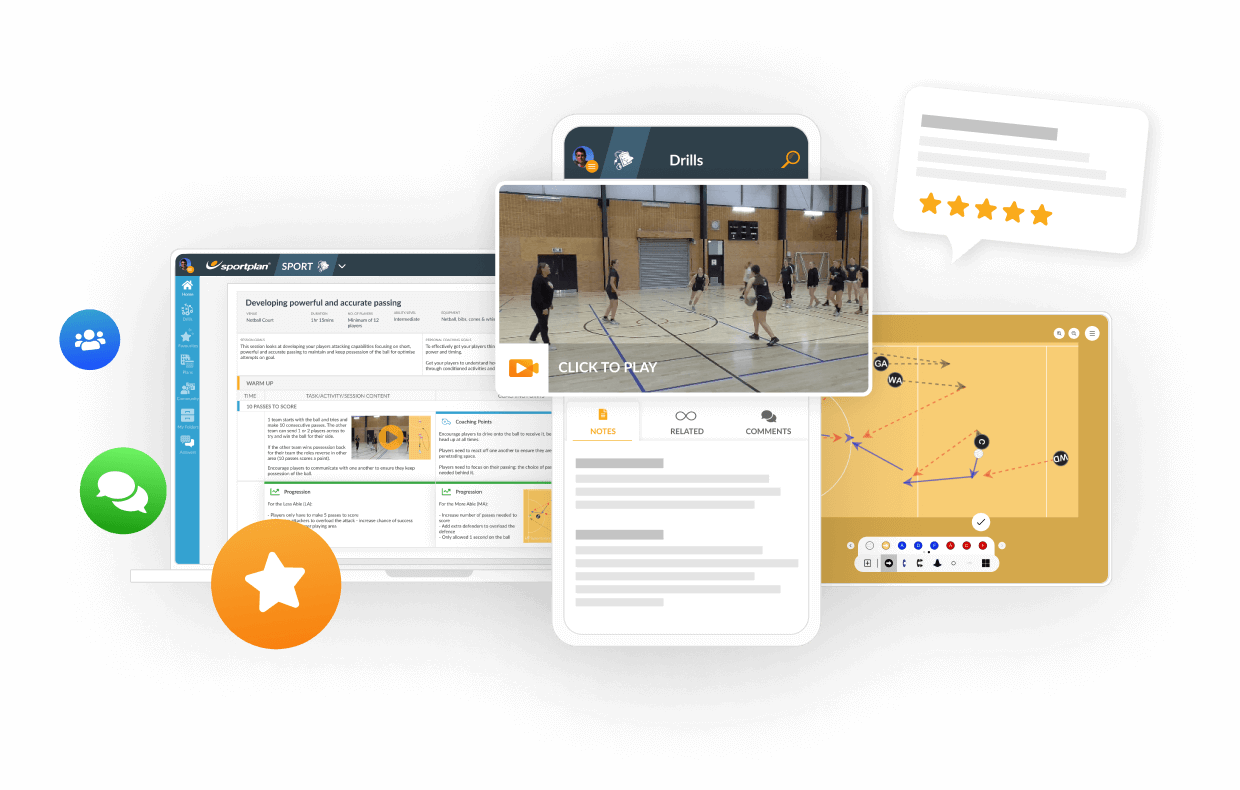
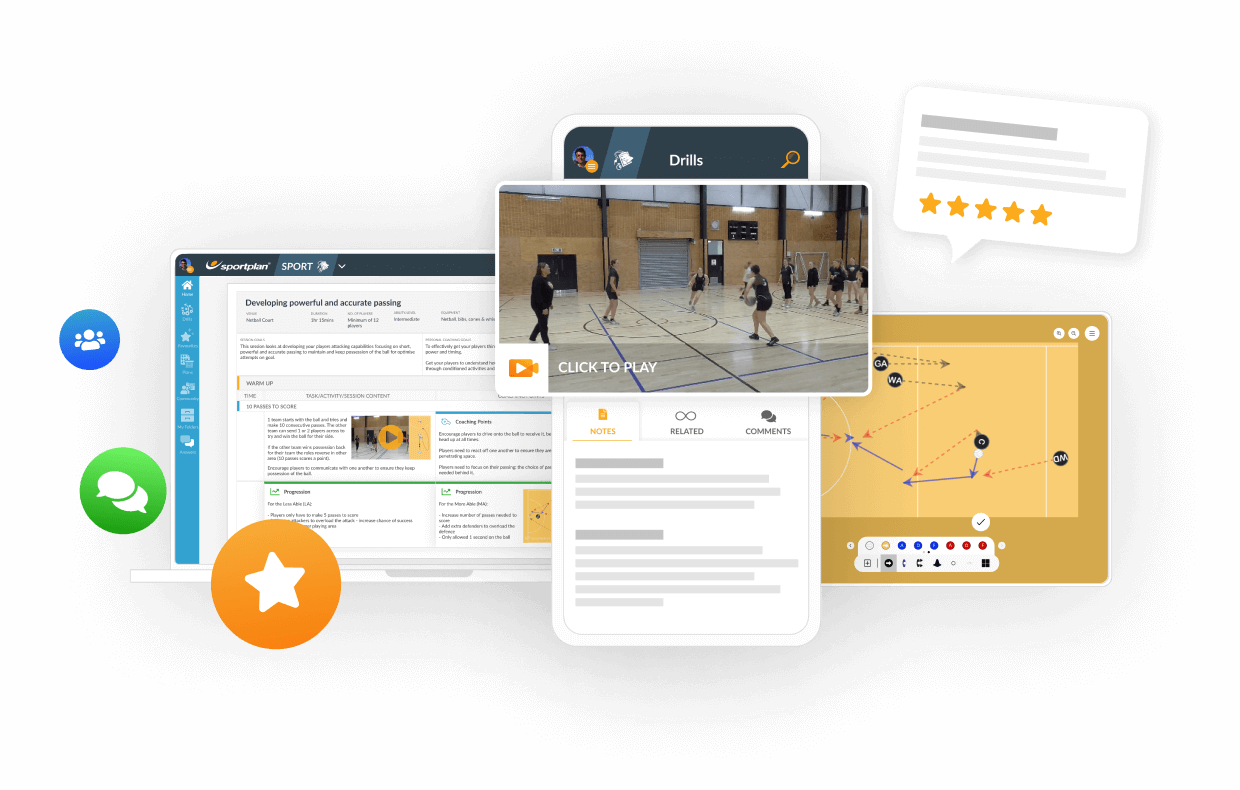
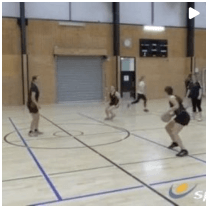
Drill is mirrored on both sides of goal third. A) Line of attackers Red F) Feeder 1 Blue F) Feeder 2 1. Attacker passes to F1 then leads out straight into middle of third. 2. A receives ball back from F1 out in front of her. 3. A passes ball straight ahead to F2. 4. A immediately returns ball to F2 then switches with other attacker. 5. New A receives ball from F2 then takes F2's spot (make sure she opens out and moves to side to let F2 lead around) 6. A (in F2 spot) passes a lob to F2 (now new A) on the run towards the sideline but down the court. 7. A passes on to F1 then keeps leading down. 8. A receives ball back from F1. 9. A passes on to A in the line then clears backwards into F1 spot (old F1 joins A line). Drill begins again when A in the line passes to new F1.
Both sides of the court need to be working at the same pace, so players don't need to wait for switches. Timing is everything! Pass #6 must be a lob and player needs to receive the ball down the court whilst on the run. All about the give and go!!
This practice has no coaching points
This practice has no progressions
in more ways than one
 sportplan_netball

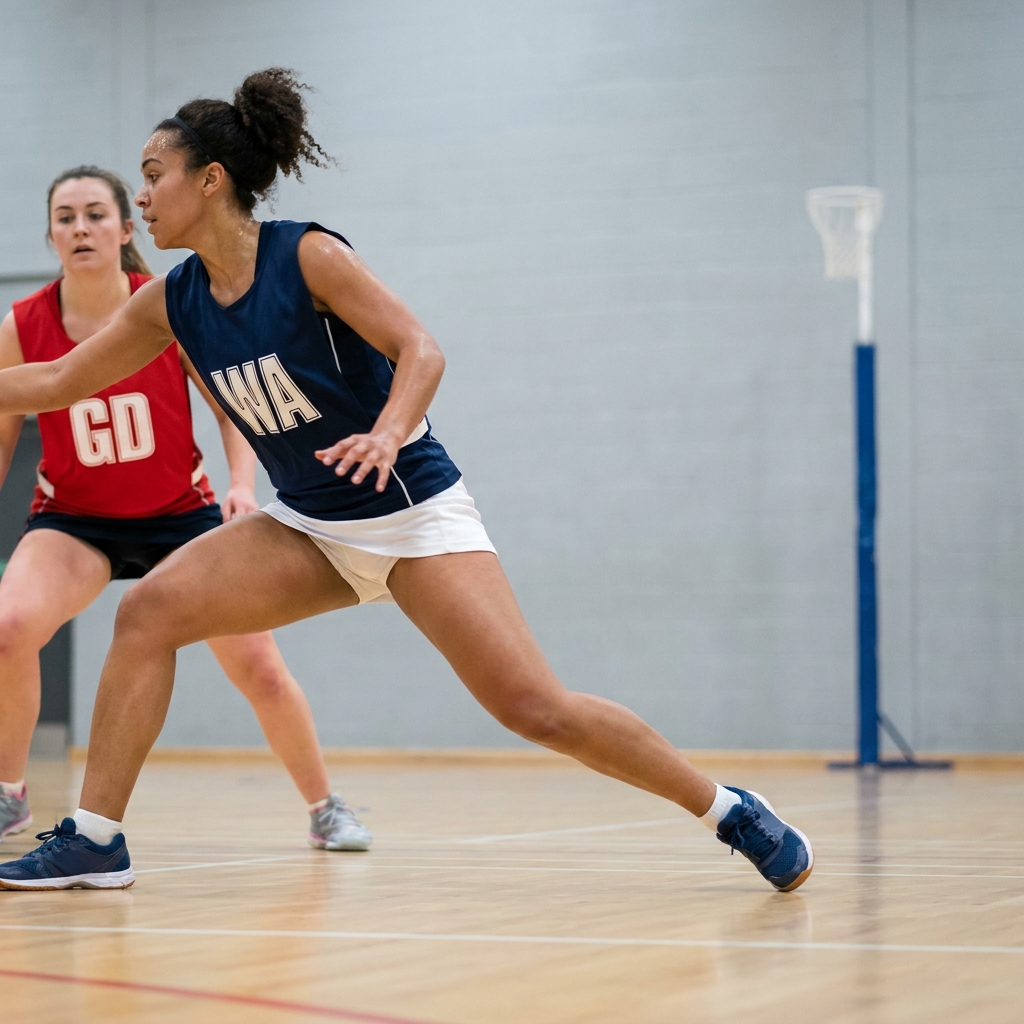
Tight markers win when attackers run in straight lines. Teach your players to dodge, change pace and time their drive so they get free when the ball is ready.
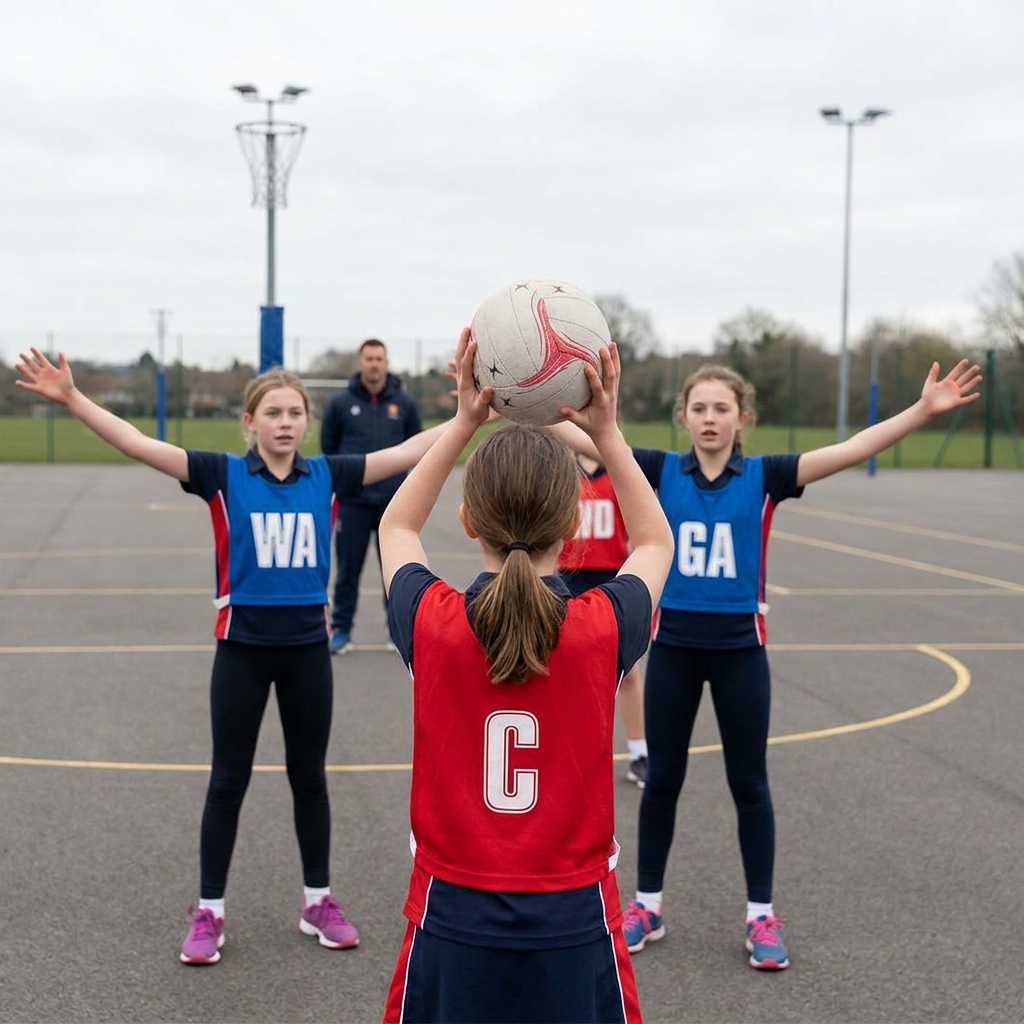
When everyone chases the ball, nobody is free. Teach your team to spread out, offer two options and clear space so the ball moves cleanly down court.
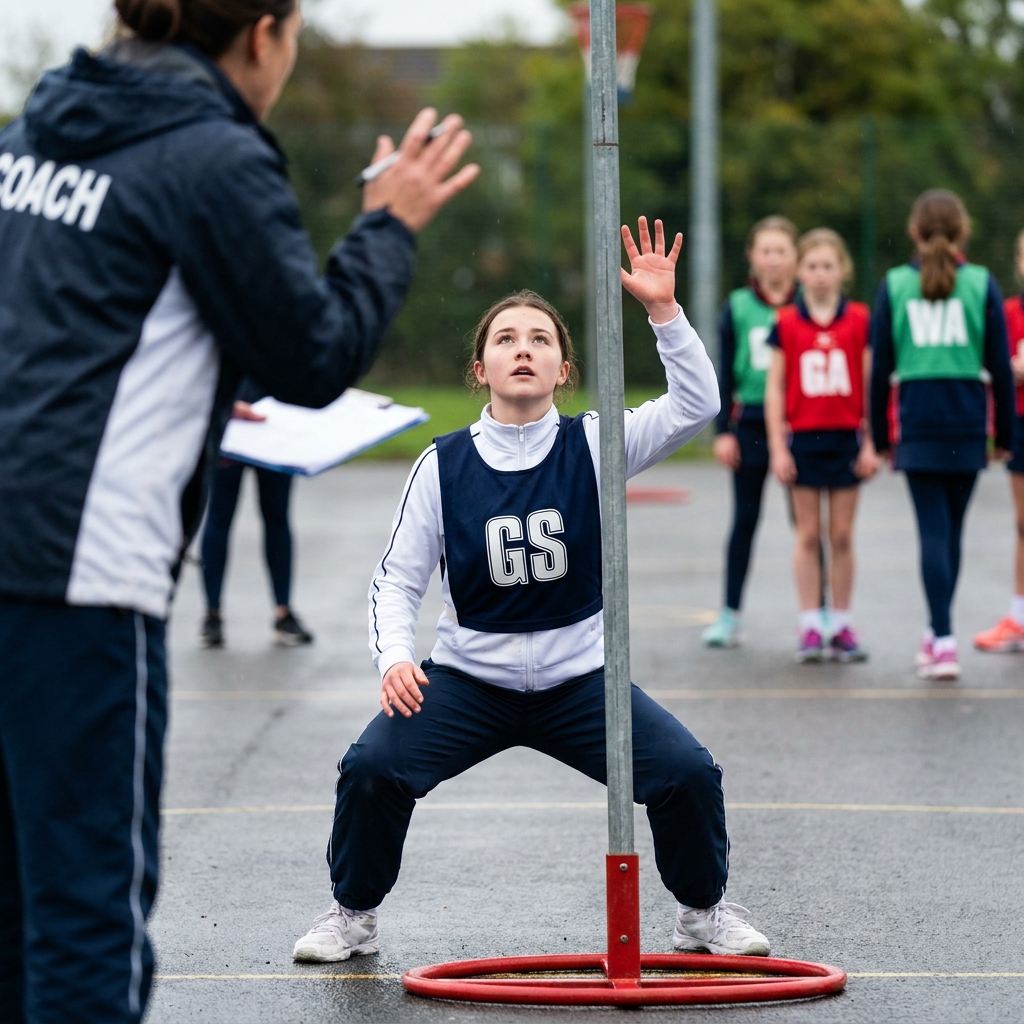
A shooter who can hold a strong position under the post is worth more than one who runs all over the circle. Here is how to coach body shape, a legal hold and a well-timed release, and how feeders make the most of it.